
Create a Session and Trial
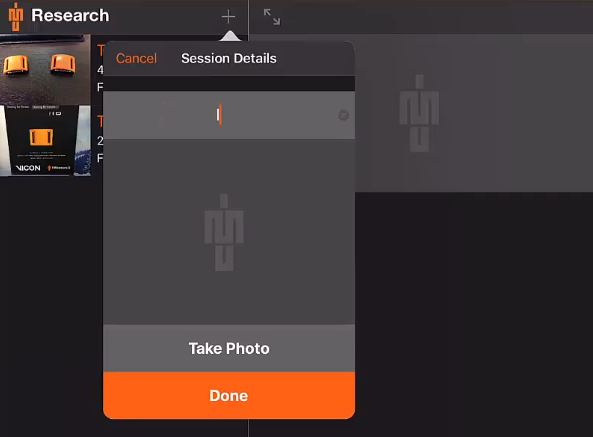
The main screen of the app appears as follows with the left side of the screen showing sessions and the right side of the screen showing trials within the selected session. To make a recording you will need to first select a session or create a new session by pressing the “+” at the top of the left hand pane. You can change the name and take a reference photo for the session.
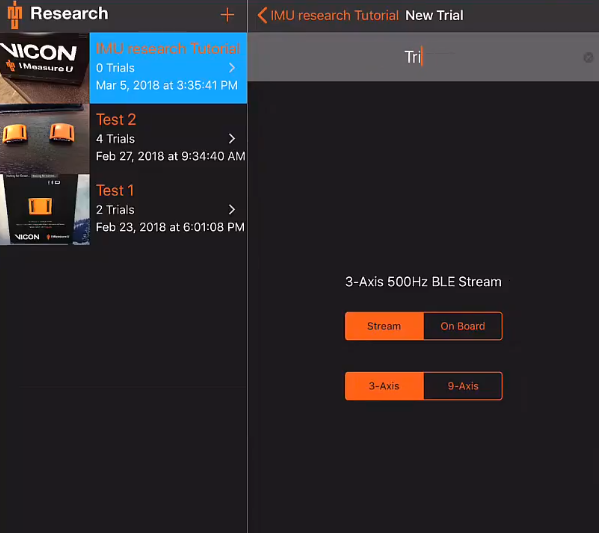
To create a new trial select the newly created session. You will need to enter a trial name in the right hand pane of the screen, select the recording mode (streaming or on-board) and the number of axis to record (3-Axis or 9-Axis). More information on these options can be found under Further Details at the end of this page.
Recording Stream Data
- Select Stream and the required number of axis.
- Press “Start Capture” at the bottom of the right hand pane.
- Select sensors to use (You can rename them if desired).
- Press “OK” , the data will start streaming as soon as the sensors have configured.
- To stop streaming , press “Stop Capture” and press again to confirm.
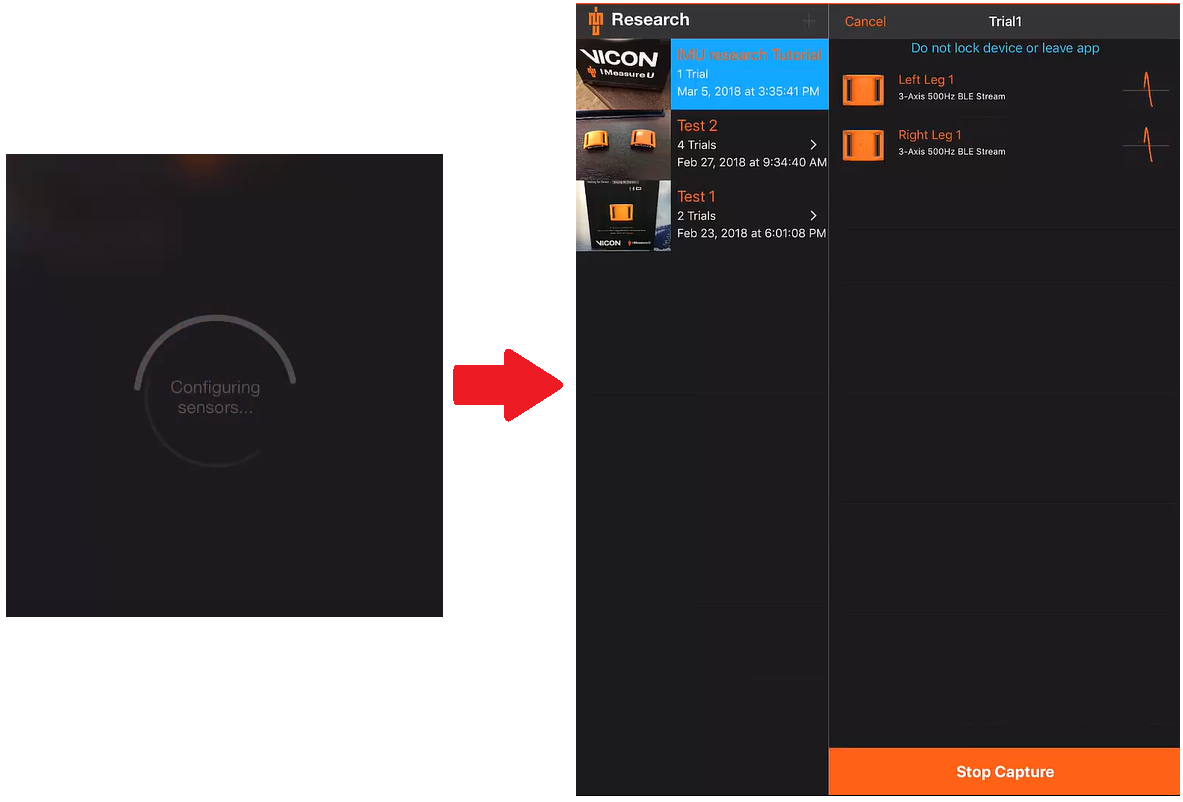
The screen shown while devices are configuring (left)
and screen shown during recording (right)
The trial can be accessed by swiping the required trial and selecting export to send via email OR connect your iOS device via USB and transfer via Itunes
Recording On-Board Data
- Select On-Board and the required number of axis.
- Press “Start Capture” at the bottom of the right hand pane.
- Select sensors to use (You can rename them if desired).
- Press “OK” , the data will start streaming as soon as the sensors have configured.
- Use the “Start” and “Stop” to set regions of interest.
- To stop streaming , press “Stop Capture” and press again to confirm.
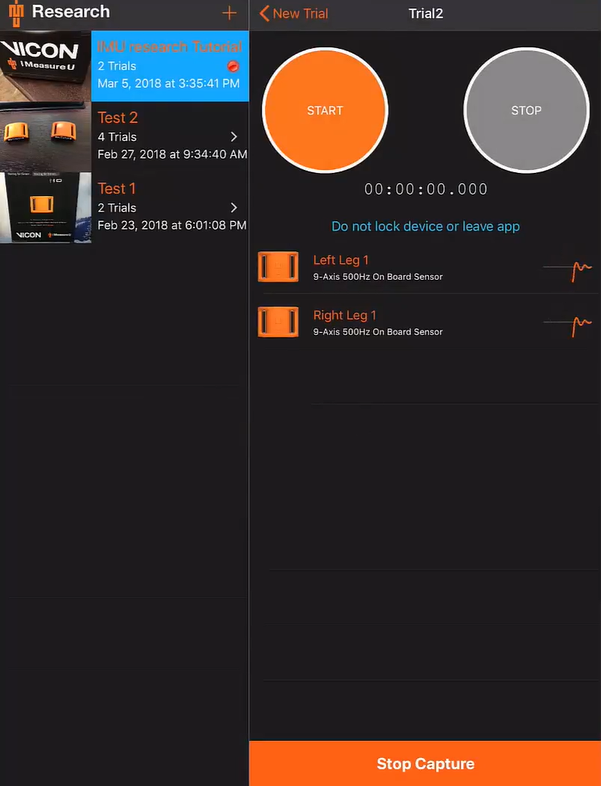
The screen shown while recording On-Board