
It can be helpful to create one or even a range of custom pipelines to improve your processing workflow.
For example, if you are working with large amounts of data you may find it easier to use custom pipelines specifically for batch processing. You may even find it necessary to create individual pipelines for different projects.
When creating your pipeline remember that operations will happen in the order they are listed. The top item will occur first and the next item down will occur second etc
To set up a new pipeline:
- In the tools pane select pipeline.

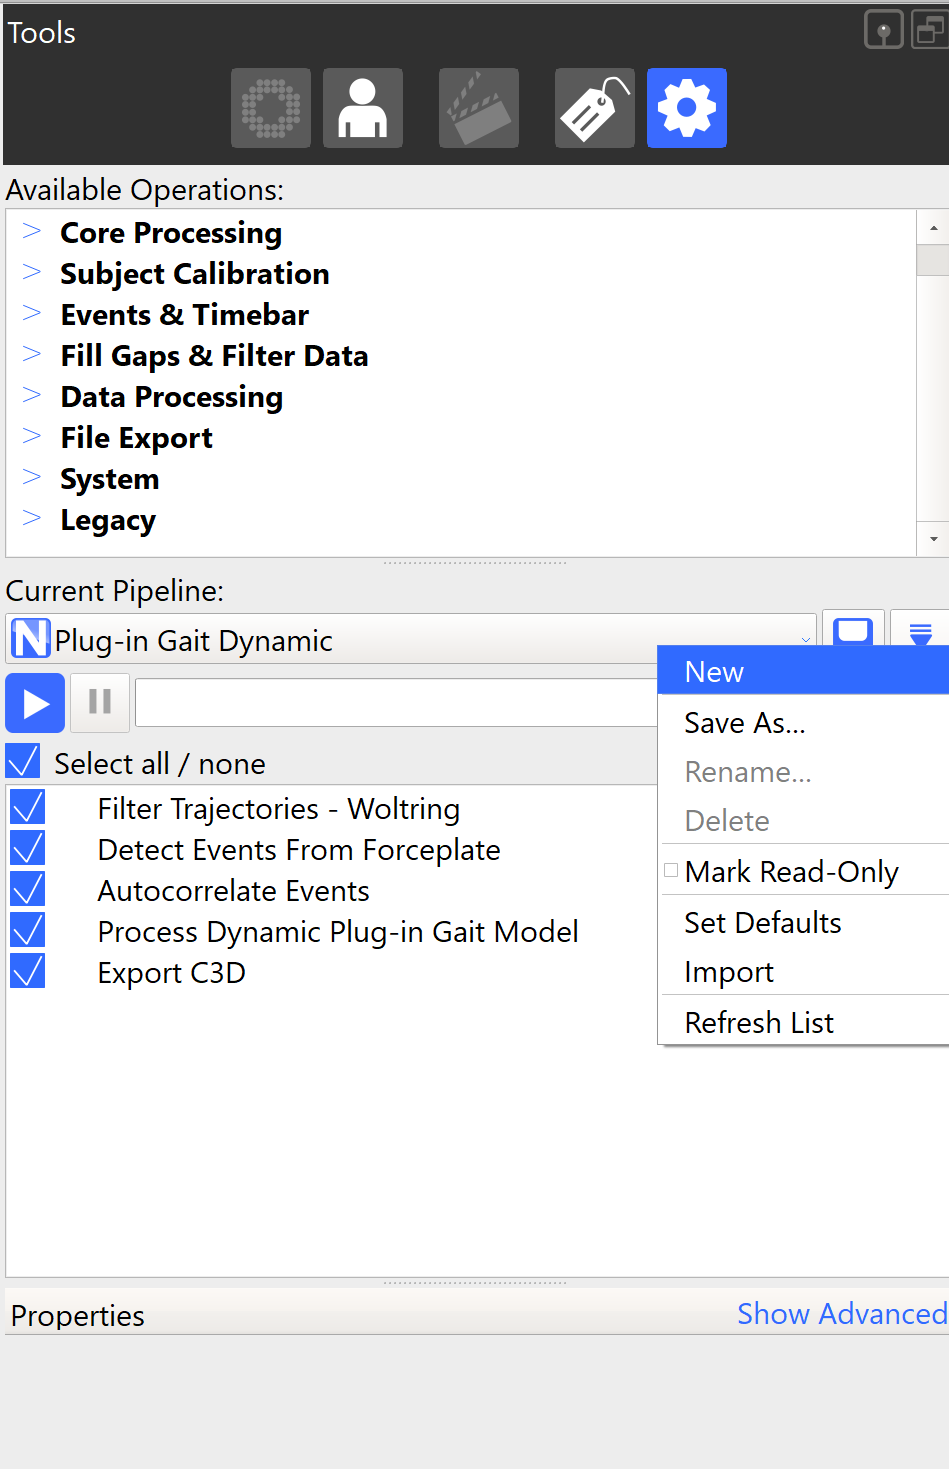
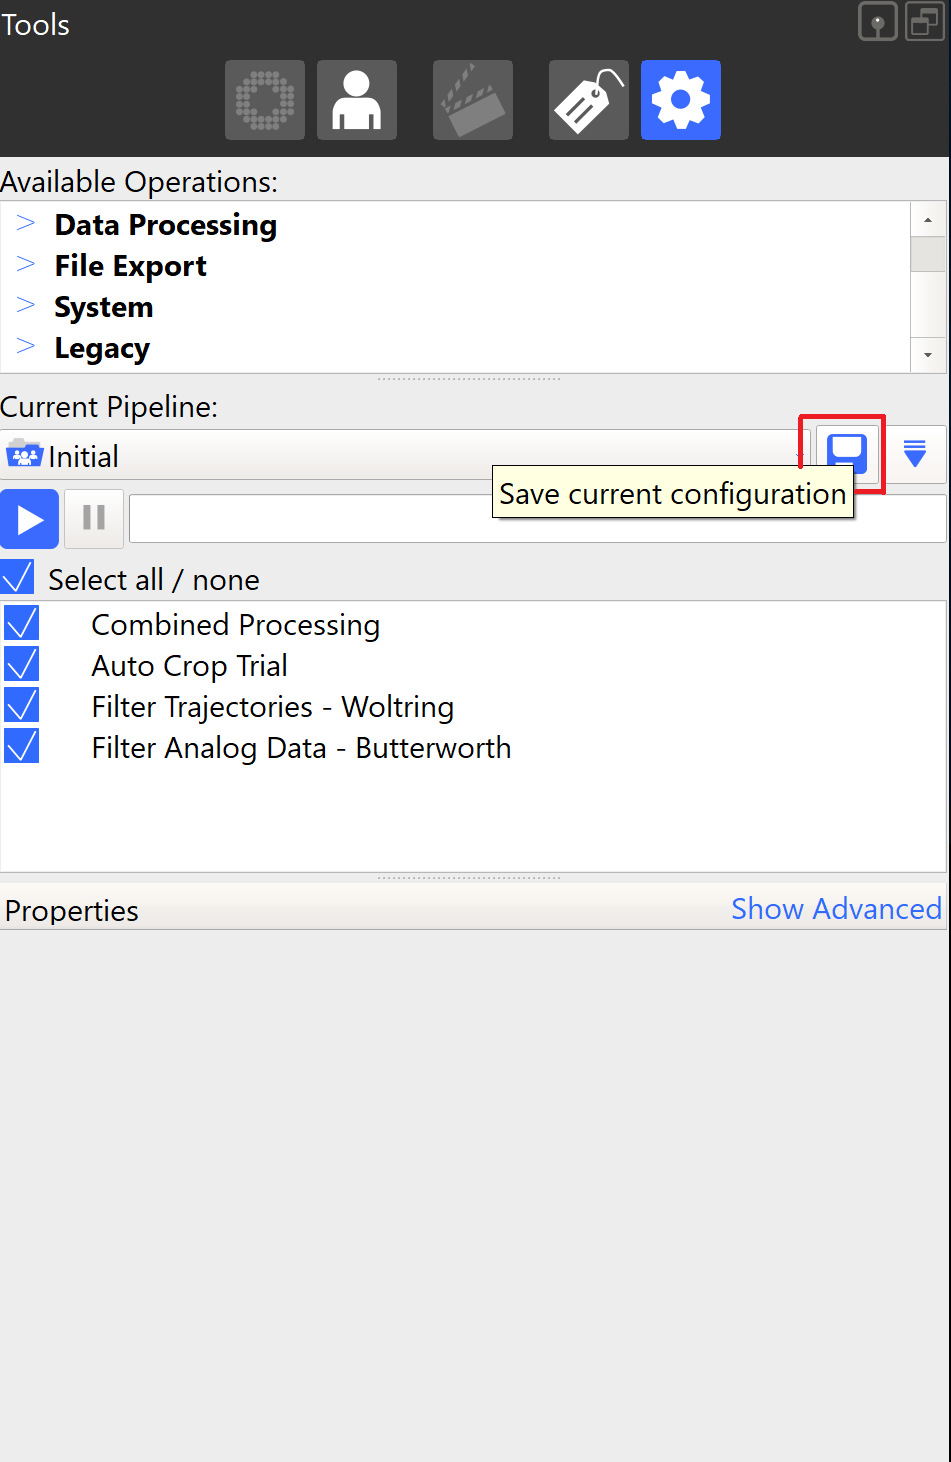
- Under current pipeline click the Configuration menu arrow.
- Select new.
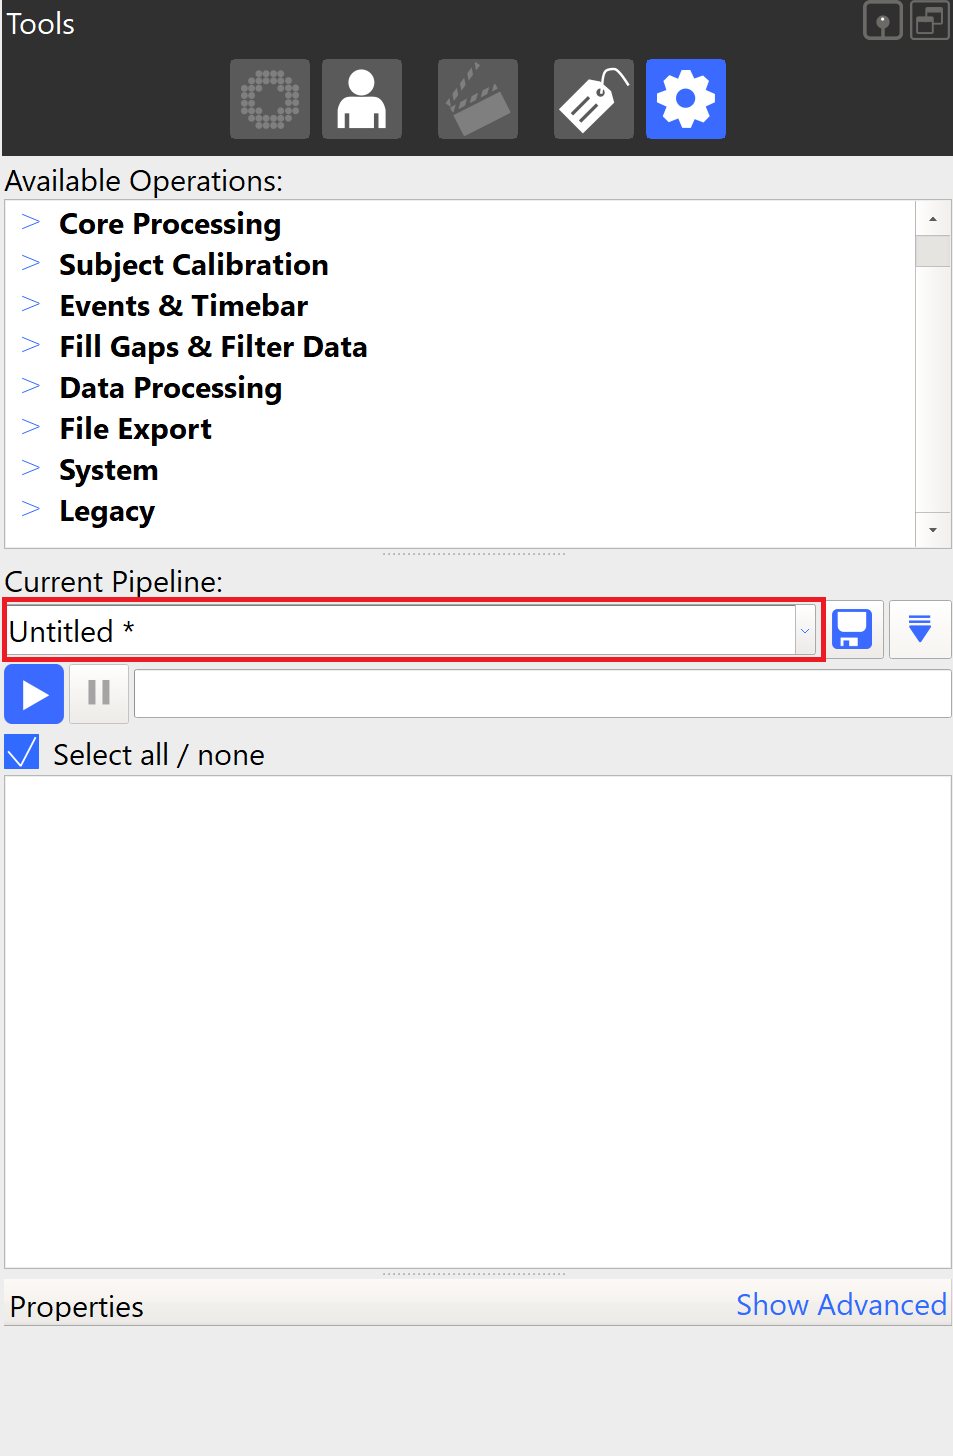
- Choose a name for the pipeline.
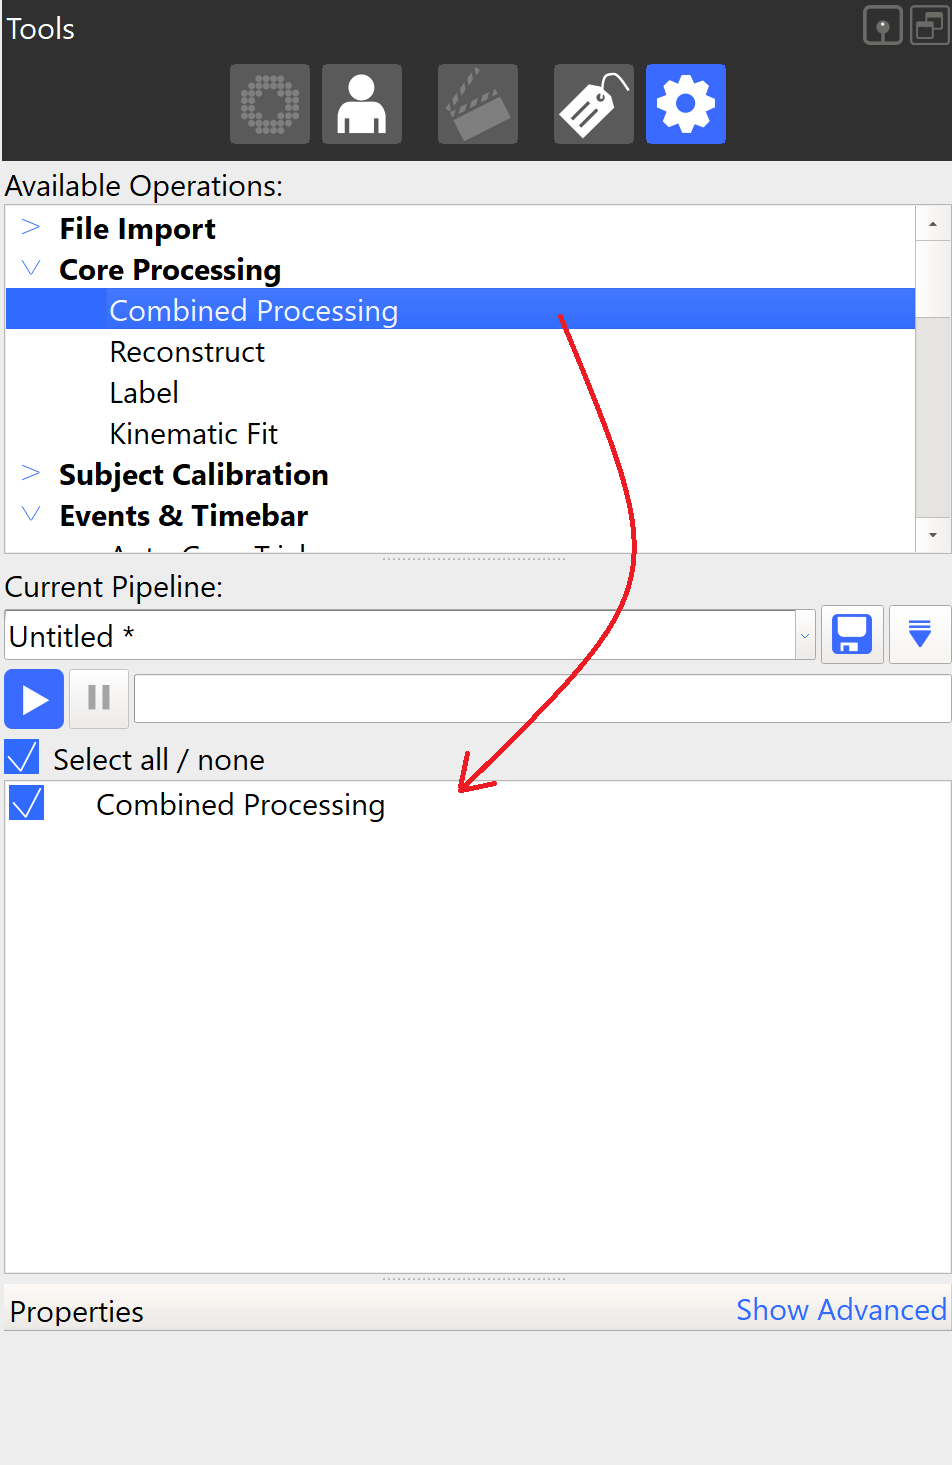
- Drop and drag the desired operation into the pipeline (or right click and add to pipeline). In this example a combined processing operation is added.
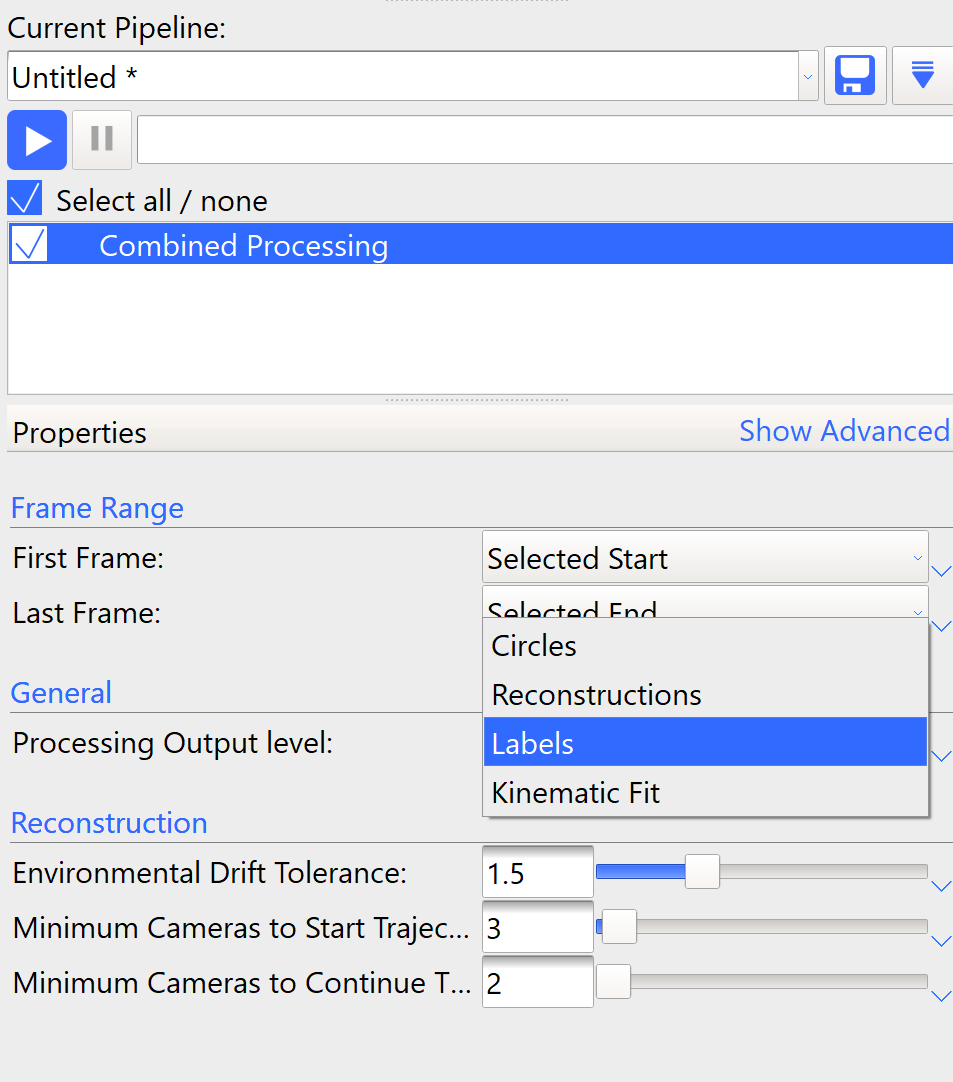
- Adjust the properties for the newly added operation. In this case the processing output level was adjusted to “Labels”.
- Repeat the process of adding operations and adjusting settings until all required operations are in the pipeline.
- Once happy with your new pipeline press save.
- When saving Nexus will ask if you wish to save the pipeline as shared or private. Private configurations are saved to the user’s documents while public is saved to the public documents folder of the computer.
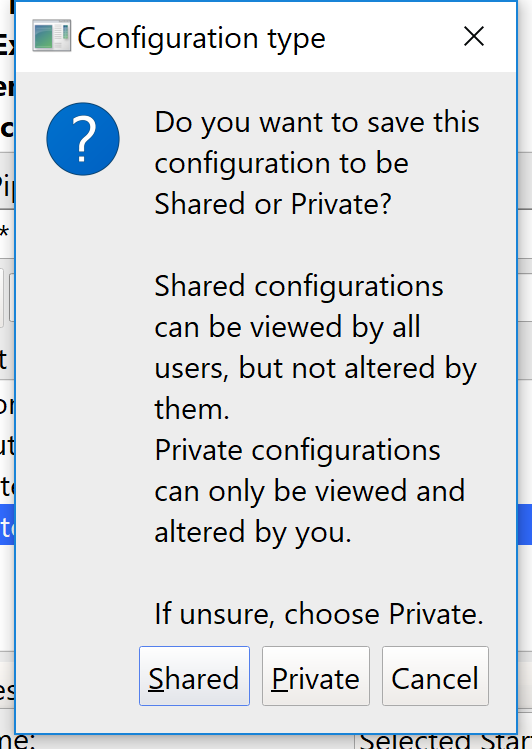
Please be aware that if multiple people are using the same computer but there is only one generic user account on the PC (eg you probably sign in to the computer using a username GaitLab, LabComputer, User, Superuser) everyone will have access to the configuration even if you select “Private”. In these cases it’s recommended to have very clear pipeline names and back ups of pipeline configurations in a safe place.
Need more information on creating pipeline backups? Head over to our guide on configuration back ups here.